Easy Camp Chili

This is our go to chili recipe when we are camping.  We mentioned in our Sequoia-Kings Canyon post how simple it is and a good meal for rainy weather.  It is easy to throw together and is super filling.  We used to use a box mix (you can find a post on that here), but we were worried about cross contact with peanuts/tree nuts so we went back to this recipe.  The Boy has pretty sever allergies, so we have to be really careful with food.  There is minimal prep for this meal and you can make it vegetarian.  In the past, we have served it with corn chips, cornbread, cheese, hot dogs, ground beef, sour cream…the list goes on.   It is great for using what you have in your fridge at home!

Chili

Easy Camp Chili

Ingredients
1 can pinto beans (drained)
1 can garbanzo beans (drained)
1 can kidney beans (drained)
1 can black beans (drained)
1 can diced tomatoes
1 tablespoon chili powder
1 tablespoon cumin
1 cup salsa
1 pound of meat (Optional and your choice.  We have used ground turkey, ground beef, and diced hot dogs.  Any will work.)

Additional toppings/sides:  grated cheese, sour cream, tortilla chips, corn chips, cornbread, muffins

Directions
1.  If you are using meat, brown the meat in a large pot.
2.  Drain the beans and add them to the cooked meat.  We do this at camp and just pour the liquid into a container for the next garbage run.  If you have a colander, you can rinse the beans but this isn’t necessary.
3.  Add the spices.  I usually pre-measure these at home and store them in a little container for ease.
4.  Add the salsa.  Again, we pre-measure this at home.
5.  Cook until heated through.
6.  Serve!  You can add fun toppings or eat as is.

Camping With Little Ones – Helpful Tips For Camping With The 0-3 Year-Olds

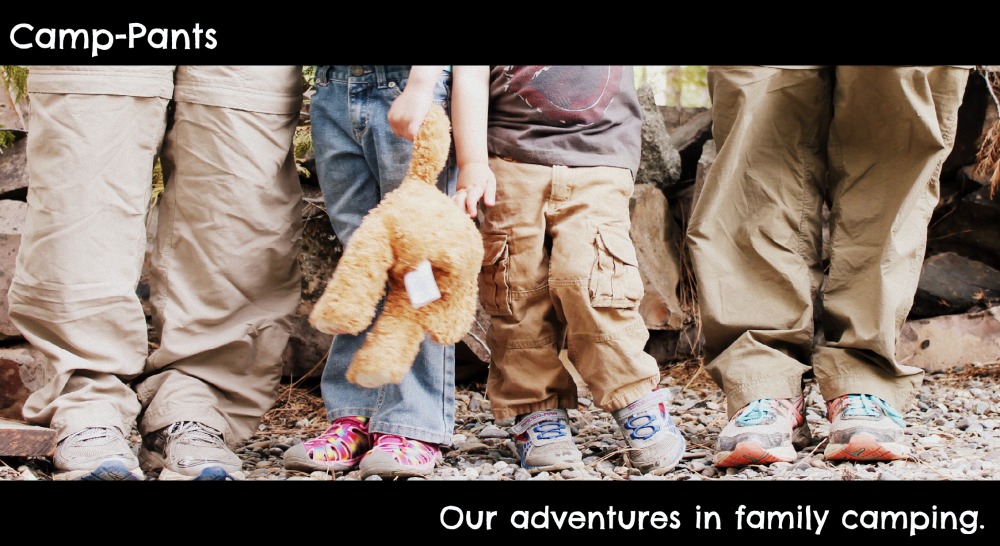
Camping for the first time with kids can be downright scary.  How will you get them to sleep?  Will sleeping in a tent be safe?  What if they put a rock in their mouth?  And oh, the dirt!  How will you keep them clean?  Even the most seasoned camper can be stricken with fear when faced with the challenge of camping with young children.

Camping with young kids can be so much fun.  It just takes a few adjustments and a little patience.  Here are a few things we have found to be very helpful.

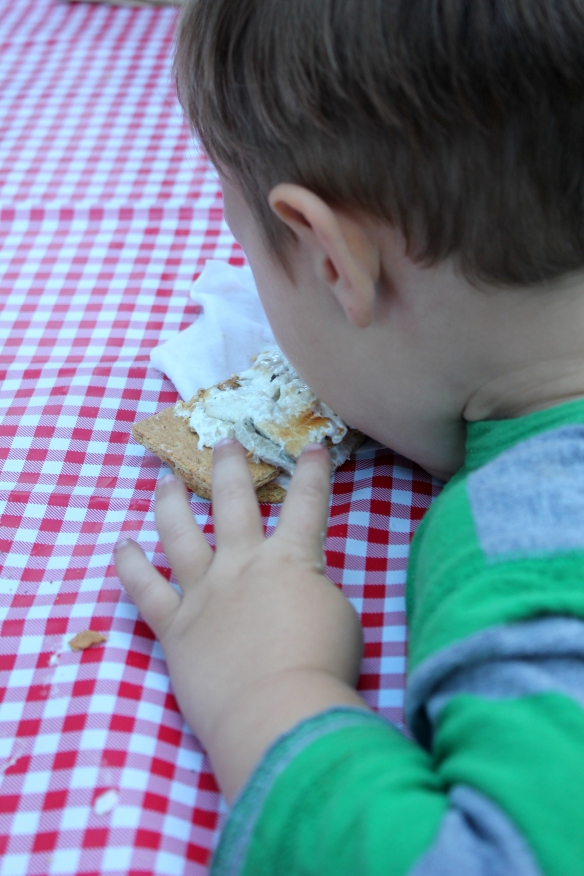
1.  Do Not Forget The Baby Wipes.  And if you do, stop and pick some up on the way to the campground.  These things are lifesavers.  And the best thing – they get marshmallows off of sticky fingers and faces and clothes and chairs and….

The Boy and His Smore

2.  Wash Them Down Every Night.  We use a warm bucket of water,  soap, and a washcloth for a quick wipe down.  It works wonders.  I have heard of others bringing washtubs.  Whatever works for you! And when my parents are with us, we will use the shower in their camper. Bonus if you stay at a campground with showers.  Just be sure to bring shower shoes and quarters.  Many of the public showers are pay showers.

3.  Don’t Overdress Your Baby At Night.  You might worry they will be too cold and decide to dress them in two onesies, socks, footed pajamas, and a hat.  Don’t laugh.  We did it.  All it results in is being woken up at 2 in the morning with an overly hot, grumpy baby.  Our advice, stick with what you do at home for that particular season.  If you find they need an extra layer, then you can add the onesie.

4.  Pack More Clothes Than You Will Think You Need.  Kids collect dirt and they blow through clothes.  Especially if you are camping near water.  Not to mention if you have a newly potty trained kiddo.  They get so excited and are having so much fun that they forget to stop and go potty.  We have found that the more clothes you can bring the better.

Dirty Kiddos

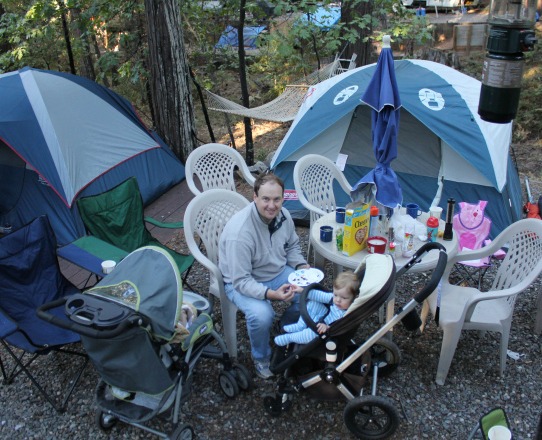
5.  Bring A Portable High Chair.  Or don’t and red neck it like us.  We would use our stroller.  Sometimes we would plan ahead and actually remember the high chair.  They have ones that attach to the table or a chair.  High chairs are so great because you can actually get your kid to settle down and eat.  But the best part – they give you a chance to eat, too.

Stroller Feeding

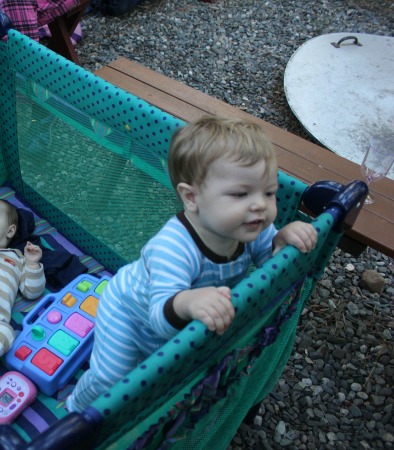
6. Bring Your Pack N’ Play.  These things are life savers.  We dragged our pack n’ play around for four years.  It gives your kiddos a safe place to play (no rocks in the mouth to worry about) and they can fit in your tent for a safe place for your baby to sleep.

Pack N Play

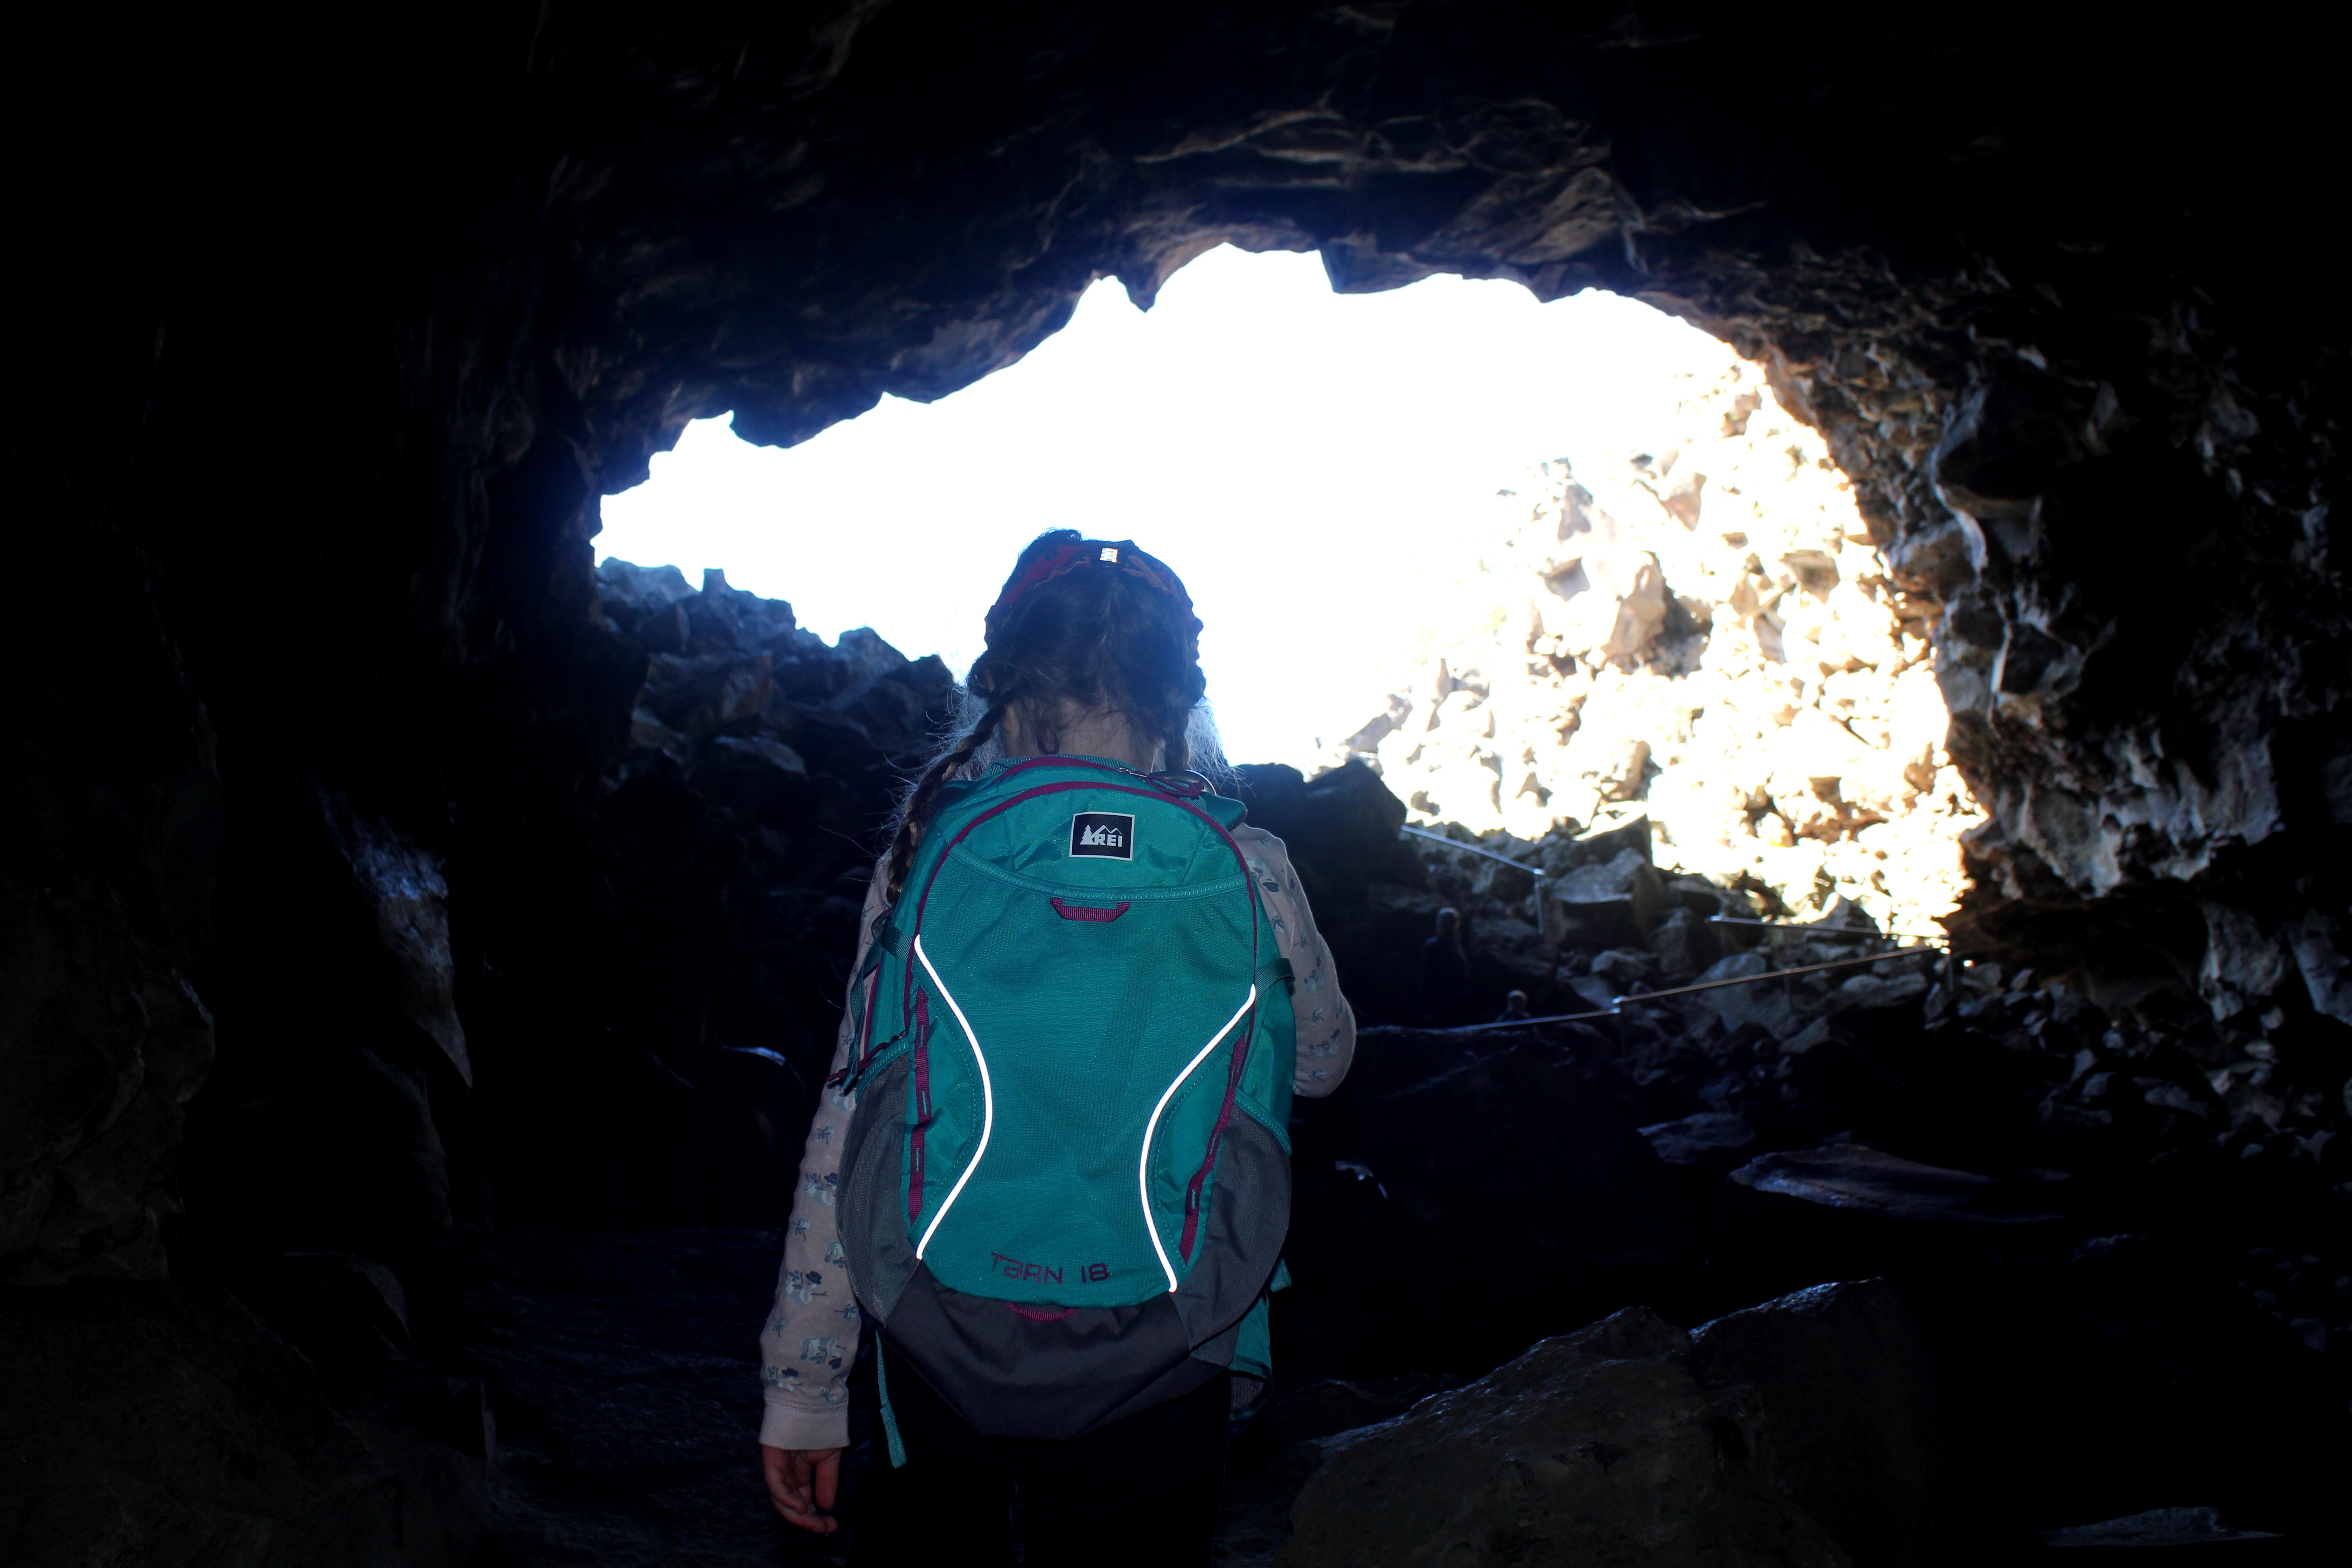
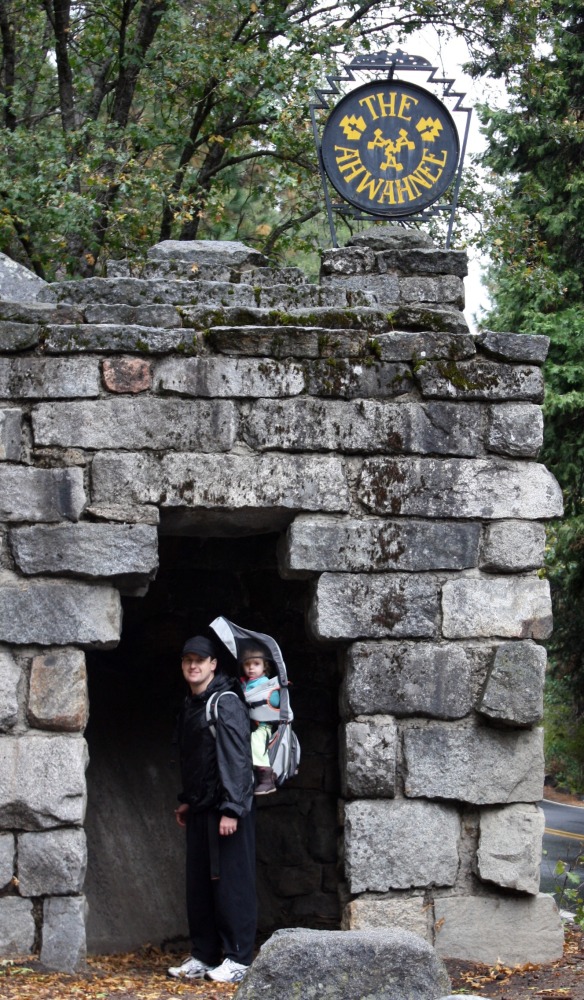
7.  Invest In A Good Carrier.  We love to hike and we found that a good backpack worked wonders for lengthening the distance we could hike.  When our little ones wanted to walk they could and when we needed to pick up the pace, we had the backpack.

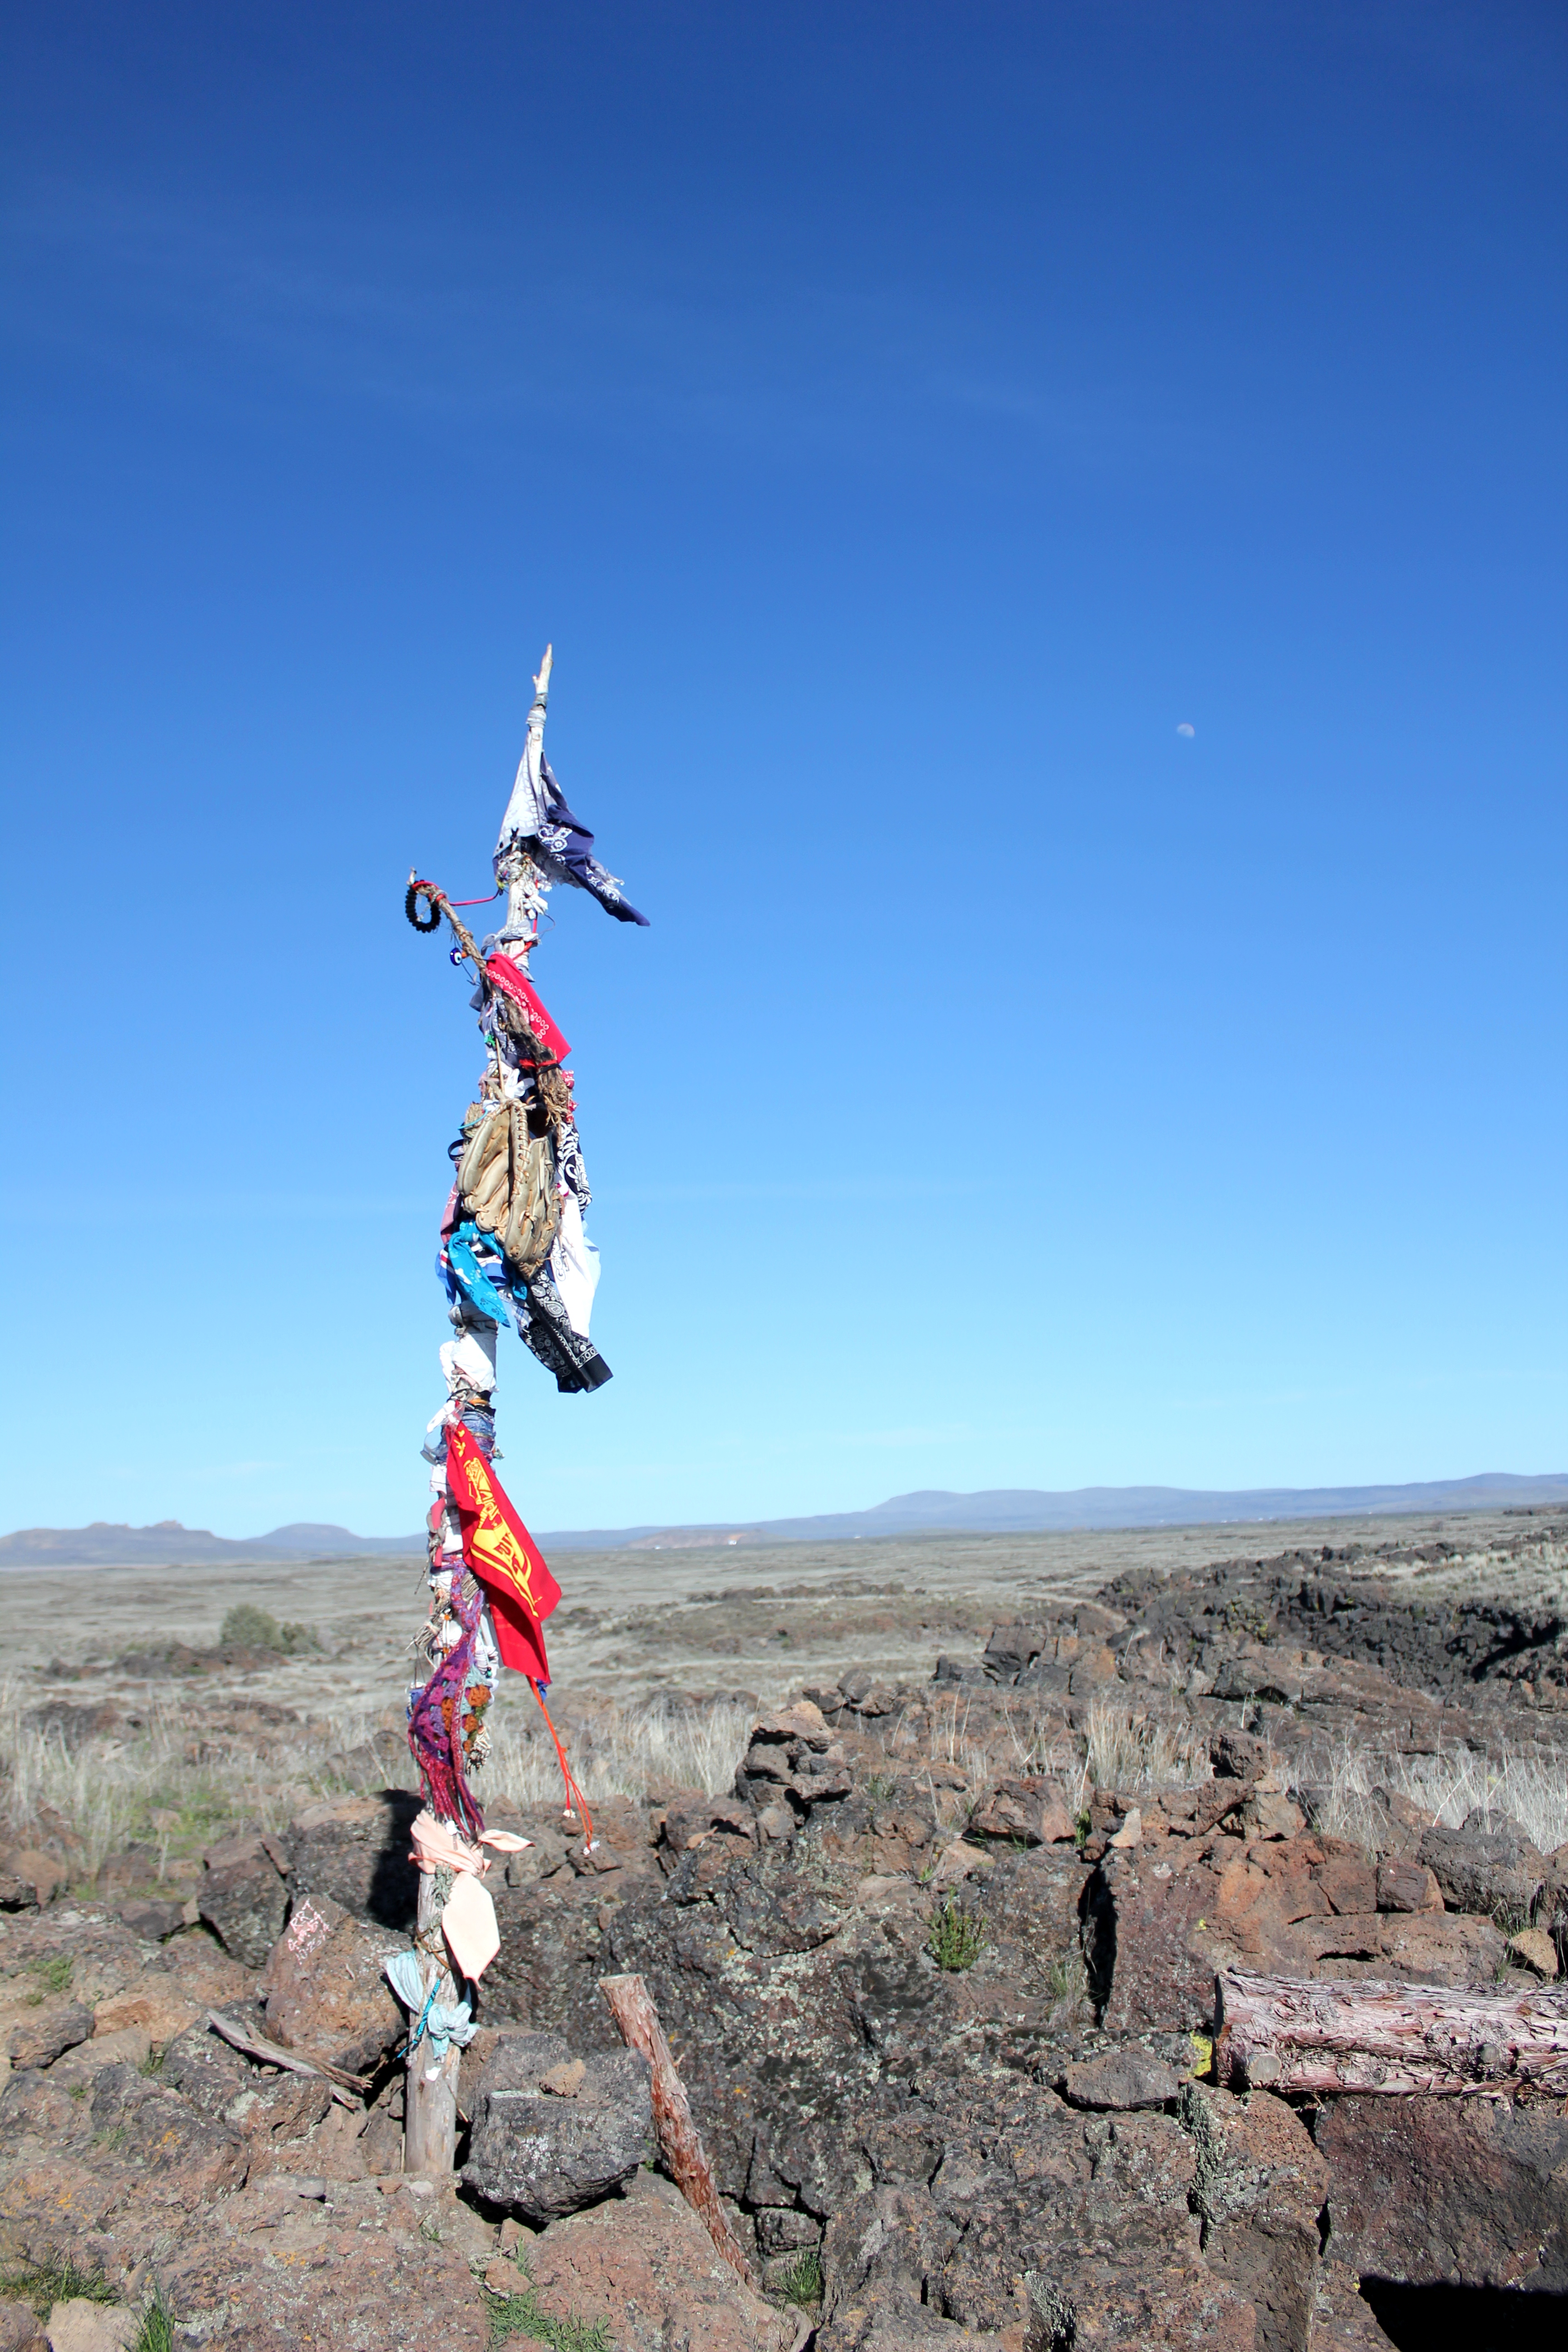
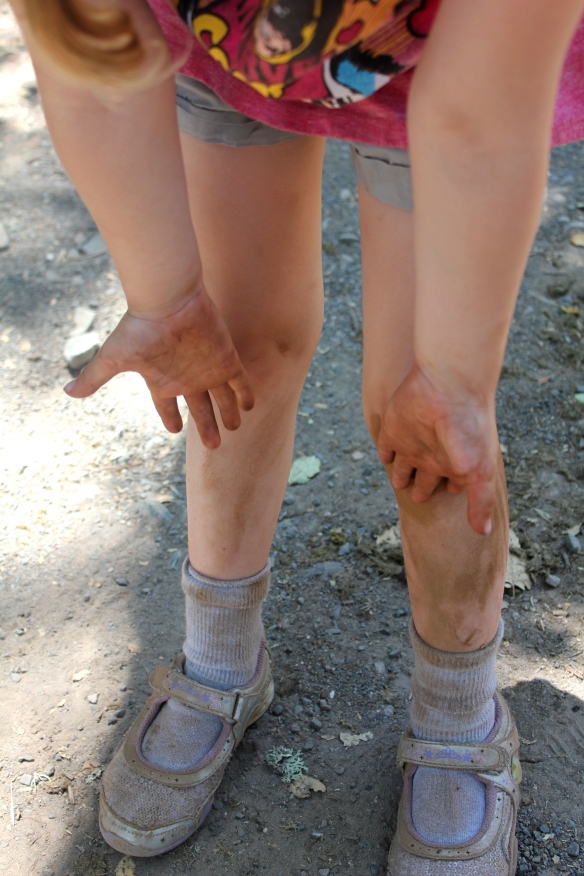
8.  Let Them Explore.  Don’t be afraid to let your little ones explore.  You will be surprised how excited they get and what great opportunities their explorations provide for learning.

Bear Box

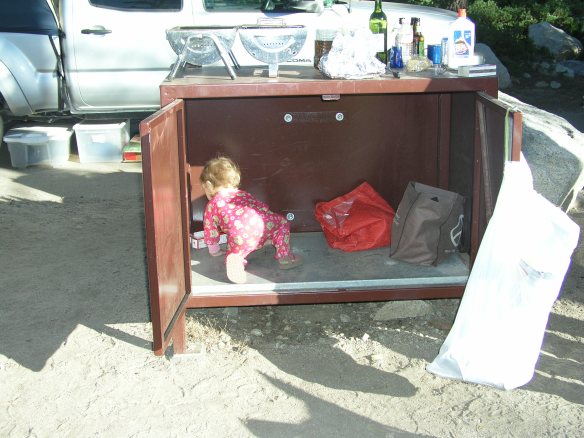
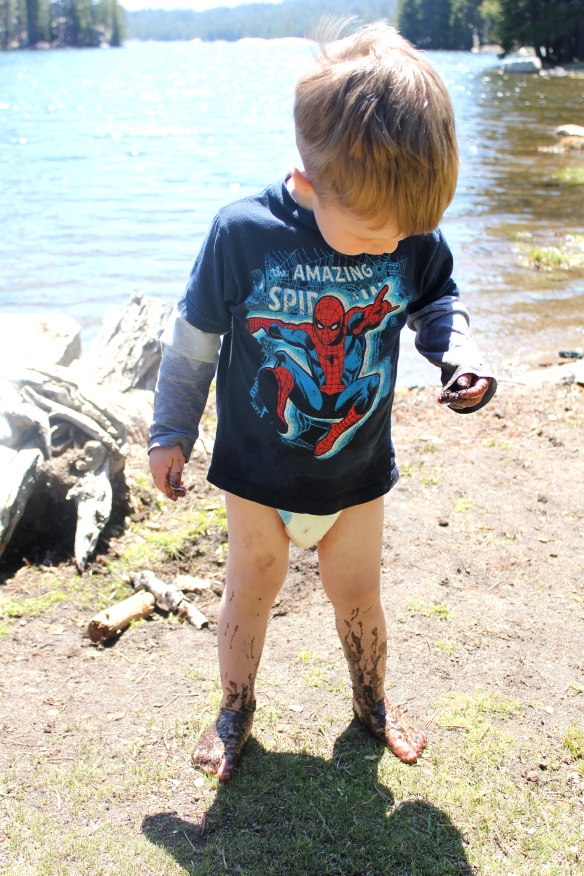
9.  Embrace The Dirt (or sand).  You’re camping.  They are going to get dirty.  As long as we go in with this mentality, we have found that we can get passed the dirty fingers and faces and enjoy our children in the great outdoors.  Dirt and all.

Dirty

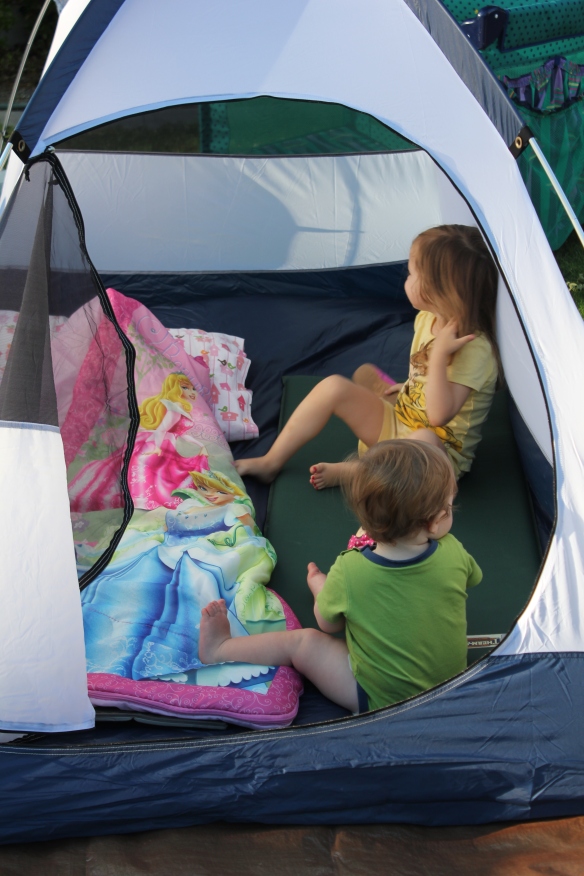
8.  Bring An Extra Tent.  It provides a great place to play.  It can also offer a place to get out of the sun or to just settle down for a nap.

Extra Tent

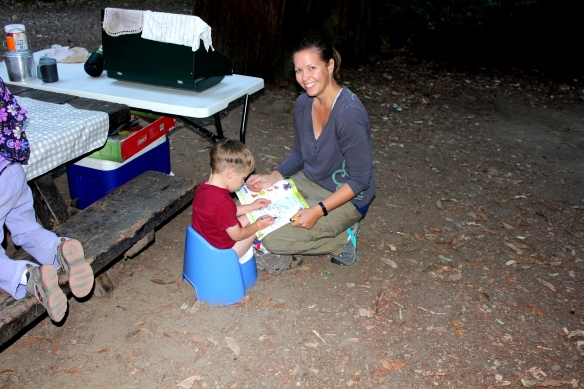
9.  Don’t Let Potty Training Detour You.  We actually potty trained They Boy camping last fall (you can read about that here).  We took the potty with us and went with it.

Potty Training

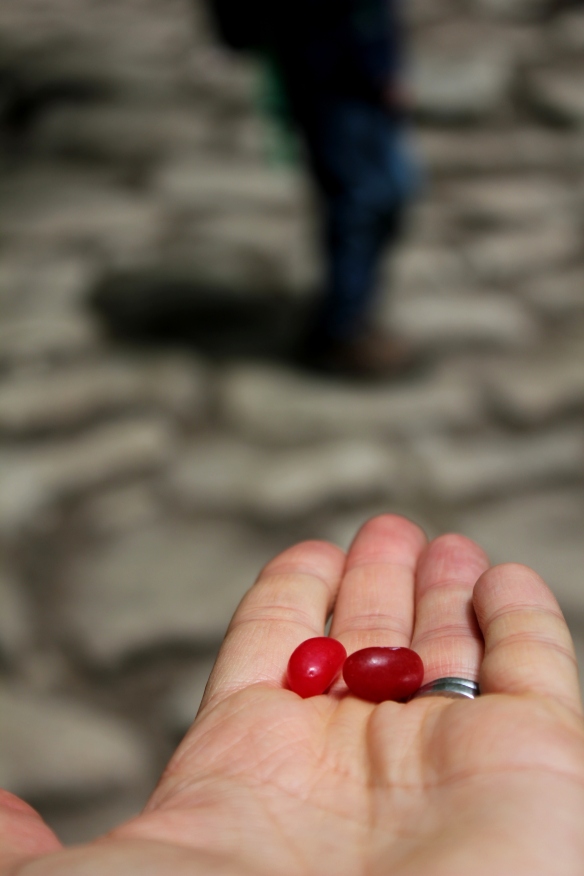
10.  It’s Ok To Resort To Bribery.  We carry Jelly Belly’s with us.  When we have really whiny kiddos, we have been known to entice them with a few Jelly Belly’s.  Happy kiddos, happy parents, right?

Jelly Belly Bribes

11.  Make It Fun.  We have done a lot of things over the years to help guide our children to the realization that being in the great outdoors is fun. Glow sticks, special chairs, fun flashlights, bug catching kits.  Anything that helps keep them engaged.  We tend to break these kinds of things out when the kids need a little boost.

Have we forgotten anything?  What tips do you have for camping with the 0-3 crowd?

Gear Review – Kids/Infant REI Mid-Weight Long Underwear

We broke down and bought the kids long underwear for Christmas.  When we were in Yosemite in October, they were so cold in the mornings.  It was cause for a lot of whining and grumpiness.  Warm kids are happy kids, right?  Yosemite convinced us we were going to have to get them long underwear rather than rely on just layering clothes.

Long Underwear

We decided to go to REI for two reasons.  First, REI carries really well made brands and we felt that we would be able to get something that would really keep the kids warm.  Secondly, we wanted something that our daughter could hand down to our son – something that would last through two kids.  Instead of buying two new pairs a year, we are hoping that she can pass hers down to him each year.

We settled on the REI brand Mid-Weight Long Underwear in turquoise for The Girl (we figured this is kind of a boy/neutral color) and the REI brand Infant Mid-Weight Long Underwear for The Boy.  The Girl’s long underwear ran $22.50 for each piece.  I believe The Boy’s ran for about $19.50 for each piece.  Quite an investment in long underwear for two growing kids, but after Yosemite we thought it was worth the cost.

The kids have been wearing them for about 6 months.  They are wearing really well (no holes or tears).  The make a great base layer.  We just pull their clothes up over the long underwear and the kids have even taken to sleeping in them.  They definitely keep the kids warm and have cut down on the early morning complaining when it is still crisp outside.

Overall, we are really happy with the REI brand Mid-Weight Long Underwear.

So.Much.Fun. – Sequoia and Kings Canyon National Parks

We don’t usually camp on the busy three-day weekends (unless we head up to the mountains).  The crowds and traffic can be way too much.  But this year we decided to brave the crowds and take advantage of the long weekend.  Sequoia and Kings Canyon National Park is about five and a half hours away and we didn’t think going for anything less than three days was worth the time in the car – two little kids and all.

Boy are we glad we went.  Words can’t even describe the beauty of the park.  And there is so much to do! We feel like we didn’t even touch the surface of what you can do in the parks.  Especially Kings Canyon.  We spent barely anytime there and are already making plans to go back and explore.

Morro Rock Trail

We made reservations in advance (a must for most California parks) and stayed in the Lodgepole Pines Campground.  We got luck with our site (#58). It was close to the park shuttle, little market, and visitor center.  The market sells wood and ice!  Not cheap but super convenient.  The bathrooms were so-so.  They were few and far between at the campground and we had to walk a little ways to get there.  They were clean though – so that was a plus.

The park offers a shuttle that can take you to different points in the park.  Such an awesome amenity.  It takes away the hassle of parking and the shuttle makes frequent stops.  Plus, it’s better for the park.  Less cars and pollution and all.

Our first day in the park, we checked out General Sherman’s Tree – a massive Giant Sequoia.  In fact, it is the largest tree by volume in the world.  The trail was paved and really easy to walk for the kids.  We also visited the Lodgepole Museum and Beetle Rock.  The kids enjoyed climbing all over this massive rock.  The Girl and Mister took advantage of one of the Ranger Programs at the amphitheater that evening.  They learned all kinds of great things and were thoroughly entertained.

Sherman Tree Trail

Beetle Rock

Sunday, we got up early and hiked the 400 steps up Morro Rock.  Such a fun hike and the views were amazing.  We made it just before the fog moved in.  Words and pictures don’t do the hike justice.  It was simply breathtaking.  We also took a short hike around Crescent Meadow and saw two black bears grazing.  I think The Mister and I were more excited than the kids.  We made it out to Tharp’s Log – a small cabin made out of a fallen Giant Sequoia.  It was pretty cool.

Morro Rock

View From Morro Rock

Tharps Cabin Trail

Brown Bear

Something we love to do with the kids is the Jr. Ranger programs. The kids went to a ranger talk Sunday afternoon.  It was all about scat and they found that very exciting.

Jr Ranger Program

We were really unsure of the weather on this trip.  We had planned for cool temps and possible rain.  We only had a few sprinkles, but we did live in our long underwear (read our review on the kids’ long underwear).  So glad we brought them.  Meals were pretty simple.  We find it is easier to have simpler meals when you are cooking in the rain.  So tacos and chili it was. You can find our chili recipe here.

On our way out of the park on Sunday, we spent some time on the Kings Canyon side of the park.  We didn’t have time to drive all the way into the canyon.  We made a few stops to look at the Giant Sequoias, but it wasn’t enough time to really explore.  It just made us realize how massive both parks are and how little we saw of them.  We are looking forward to a return trip.  Maybe this fall?

Massive Tree

So where do you go when you have a long weekend?  To you try to avoid the busier parks or is to you take advantage of the extra day?

Chasing Waterfalls – Yosemite in the Spring

Last fall we lucked out and snagged a last minute camping reservation at Crane’s Flat.  We had a great time in Yosemite but really missed the waterfalls.  Yosemite Falls rarely flows in the fall, and we really wanted the kids to see it after winter.  We were on top of it this year, and we booked reservations early.  We stayed in Lower Pines Campground.  When you have a chance to stay in the Valley, you realize how super convenient it is.  You don’t have to drive anywhere.  There are shuttles that will take you all over the Valley floor or you can walk/ride bikes.  The weather was still pretty cool and we had rain on Sunday.  Overall though, we couldn’t have asked for nicer spring weather.

Westy

Half Dome

On Saturday, we jumped on the shuttle and went to the Visitor’s Center for a Jr. Ranger talk.  Our kids love these and we take advantage of them whenever possible.  Afterwards, we were wandering around and stumbled right into the most awesome ranger program we have ever experienced.  It was run by a descendent of the Miwok Indians.  He showed us all ton of edible plants and let the kids hold different toys the Miwok children would play with.  The best part though – he taught us how to throw darts.  We had such a blast.

Dart

Darts

The Girl Throwing Darts

The Boy Throwing Darts

Later that day we hiked to Mirror Lake.  The Boy complained the whole time and The Missus had to keep feeding him Jelly Belly’\s to get him to walk.  He was driving us crazy.  The lake was gorgeous but we dreaded the hike out.  Complaining kid and all.  It turns out his hiking boots were too small.  Poor guy’s feet hurt.  The Missus felt horrible!

Mirror Lake Trail

Jelly Belly Bribes

Mirro rLake

 Mirror Lake Duck

We saved all the waterfalls for Sunday morning.  The shuttle dropped us off right at Yosemite Falls and we made the short walk in to the base.  No big hiking – not with The Boy and his sore feet.  The falls were gorgeous.  Even with the drought, they were still amazing.  The Mister wasn’t feeling so great on Sunday.  He felt like he was coming down with a bug, so we packed up camp early and headed home.

Yosemite Falls

For our next trip to Yosemite, The Missus wants to carve out time to hike to the three groves of Giant Sequoias.  We think they will be pretty amazing.  Especially because they are off the beaten path.  Have you made it to all the Giant Sequoia Groves?  This is becoming one of The Missus’s must dos.

Refugio – A Little Bit of Paradise

After spending Thanksgiving at El Capitan on the Santa Barbara Coast, we jumped at the chance to take another trip back down that way.  The Mister had an alumni event at UCSB and we decided to take the whole family down and camp for four days at Refugio State Beach.  We were going to meet friends there and have a reunion get together.  You know, relive those grad-school days.

BestView

So when The Missus came down with the flu the day we were supposed to leave, there was disappointment all around.  Were we still going to go?  What if the kids got sick?  A million what ifs were go through our heads.  The Missus was feeling a bit better the next day, so we decided to rally.  We had waited months for this trip and we were so excited to try out our new pop-up tent (we replaced the canvas), racks (we installed these in early April), and new stand up paddle board (to go with the racks of course).

Westy

The weather on Thursday night was gorgeous.  The kids had a great time playing on the beach with friends.

Beach Sunset

We played with the paddle board on Friday afternoon.  The Boy was not a fan.  He would much rather play with his boogie board.

Paddle Board

The Boy

We ended up having pretty crappy weather the rest of the weekend.  It was pouring down rain most of Saturday morning.  When the rain cleared, the wind picked up.  It was so windy we ended up packing up most of camp (it was blowing away), and hunkering down in The Westy for dinner.  It was the first time we were truly grateful for having The Westy in inclement weather.  It gave us a nice escape from the gusty wind.

Even with the rain and wind we were able to squeeze in a hike up the coastal bluffs. And play on the playground near the beach.  We even made it out to the tide pools.

Hiking

View from our hike

Beach Playground

Tide Pools

The nice thing about this campground is it is right on the beach.  Just a quick walk over and you are there.  It also has flushing toilets and showers.  They are pretty old and yucky, but this is a really high use park so it is to be expected.  It is a fun park, too.  The kids can ride their scooters on the paved road and it is a quick walk to another beach just south of Refugio.  A pretty amazing spot (even if the weather sucks).

Sunset at Refugio

We really lucked out that no one else go sick on this trip.  The Missus was back to herself by Saturday and the kids escaped the illness.  What more can you ask for?  So have you ever camped when you didn’t feel 100%?

Hot Bananas (with Chocolate)

One of our favorite desserts when camping is hot bananas.  We love to slice them open and stuff them with mini-marshmallows and dark chocolate chips (we like the Enjoy Life brand).  This is such a great camping treat because they can cook while you are eating dinner.  It is also a great alternative to S’Mores.  And I know this sounds like a completely bizarre recipe.  But give it a try.  It really is good.

MeltedMarshmellowMaddness

Hot Bananas

Ingredients
Bananas (one per person)
Chocolate Chips
Marshmallows (we like the minis for this)
Foil

Directions
1.  Peel the bananas.
2.  Make a slice down the middle of the banana (long way), but do not cut all the way through the banana.
3.  Stuff with mini-marshmallows and chocolate chips.
4.  Wrap in foil.
5.  Place on the barbeque.  Indirect heat is best.
6.  Cook until heated through and the marshmallows are gooey.

MarshmellowMaddness

Exploring New Places – Lava Beds National Monument 

We decided to take a long weekend a head to Lava Beds National Monument. Located in the Great Basin Desert, it can get mighty hot there in the summer and freezing in the winter.  It’s one of those places a spring or fall visit seems the best bet for happy campers.
LavaBeds
It is a pretty long haul, so we stayed in a KOA in Shasta City Friday night.  The campground was super cute.  Dirt roads with camp sites set back in the pine trees. Flushing toilets and hot showers.  This is definitely someplace we will stay again.  We were in a rush Saturday morning to get to the Lava Beds, so we grabbed breakfast on the road.  Black Bear Diner is a chain of restaurants that have pretty good food. We stopped there for eggs and the kids dug the bear decore.
KOA
The drive into Lava Beds is pretty awesome.  You pass Mt. Shasta and cut across the Kalamath National Forest Wildlife Refuge and drive past Tule Lake.  There were so many birds in this area.  We saw three bald eagles and a ringnecked pheasant, not to mention a ton of waterfowl.  On your way into the park, you drive through ancient lava flows.  Scattered throughout is Great Basin Sagebrush, Rabbitbush, and various grasses.  It is a harsh but beautiful environment.
The campground at Lava Beds is set in a juniper-brushland.  Hands down, this is one of the prettiest campgrounds we have ever stayed in.  The juniper trees and scattered shrubs are so pretty and the campsites are set right under the trees.  There are cool picnic tables built into the rocks and fire rings at each site.  The campground really favors tent campers, but you can find a place for an RV.  The bathrooms are updated and really nice here and they have potable water.  One of the best things –  every morning deer would come through camp.  The kids loved seeing them up close.
Campground
MuleDeer
The Missus’s parents joined us on Saturday.  We spent the afternoon exploring the visitor center and Mushpot Cave.  It was a great introduction to the over 800 caves you can find in the park and it set the kids up for what to expect Sunday.
KidsBackpack
Sunday we borrowed flashlights from the ranger station.  The caves a dark – really, really dark.  Our little headlamps were not going to cut it so we took advantage of the flashlight loaning program offered at the ranger station.  The caves were amazing. They varied so much. Some were steep and deep and required you to walk along metal staircases (Skull Cave).  Others were wide and narrow and you had to duck down to avoid hitting your head.  The caves vary in difficulty so we tried to pick those that weren’t overly challenging for the kids.  I think the coolest thing about the caves was that you would walk right up up it and never see it until you looked down. They were so different from the caves we explored at Pinnacles National Park back in February.
Caves
CavesMetalWalkway
InCave
After lunch back at camp and a little quite time, we took off to explore Captain Jack’s Stronghold.  The Boy was really into Captain Jack.  The Girl and I were not so into the hike.  We were both suffering from post traumatic Snake syndrome.  The trail was perfect snake habitat; rocky and sandy.  I think we were flashing back to Pinnacles.
CaptainJack
Stronghold
Monday we loaded up into Papa’s car and took off for Glass Mountain.  It is a mountain covered in obsidian rock.  Unfortunately there was still snow on the road about three miles left into the drive so we didn’t make it to the mountain. Definitely something we will have to plan for our trip back to the park.  We ended up having lunch in Papa’s camper on the side of the road.  The kids played in the snow and we played the Jelly Belly Beanboozled game.  It turned out to be a really fun day.
Us
GlassMtn
Tuesday we woke up to cloudy skies.  Rain wasn’t in the forecast, but it sure looked like rain to us. We packed up quickly and just in time, too.  Just as we were finishing up, a wet snow started to fall.  Boy did we luck out there! With one last cave visit and a stop at the Ranger’s Station for a magnet souvenir, we were ready to head home.
What out of the way National Park or Monument do you enjoy visiting?

Cleaning Up Our Cast Iron – Major Camping Fail

We have two cast iron Dutch ovens we use when we are camping. We usually store them at The Mountains but we realized our storage method was subpar. We were storing under our outdoor stove, covered with a tarp. We thought they would be protected from the rain and snow. Umm. Yeah. Not really. They got super rusty.

Cast Iron Rust

Using Southern Living Magazines 11 Cast Iron Commandments and a lot of elbow grease, The Missus cleaned up the smaller if the two in time for Thanksgiving.

Before

Here is how she did it:

1.  Wash the cast iron with soap and water.  We know soap and water are a no-no in cast iron, but we needed to do this do remove some of the dirt and rust.
2.  Using steel stool pads, scrub the pan.  I like the steel wool that comes with the blue soap on the pad (S.O.S brand).  It seems to help remove the rust a bit better than just water.
3.  Rinse.
4.  Scrub the pan with water and coarse salt.
5.  Rinse.
6.  Repeat the above steps until the pan is rust free.  For really tough spots, we used a steel wire brush.  This helped in those really tough spots.

Miracle Brush
7.  Once rust free, coat the entire pan with vegetable oil and bake upside down in the oven at 350 degrees for one hour.
8.  You can repeat step 7 until you feel the pan is seasoned to your liking.  Once it is finished, you want to avoid any soaps when cleaning.

Finished

Oh Snakes! – Pinnacles National Park

Fourteen years ago, when the Mister and I were dating, we spent a summer weekend camping in the then Pinnacles National Monument.  Fast forward through a wedding, two kids, and new National Park status and we felt it was time to return.  The Missus’s parents met us there and we were excited to hike and explore the caves in the cool spring weather.  It was great way to spend Valentine’s Day Weekend.
Valentine
Westy
We hiked five miles the first day to Bear Gulch and Bear Gulch Reservoir Lake.  We were so impressed with how well both kids hiked.  The Boy out grew the backpack over the winter, so he had to walk the entire way.  He did so great.  The caves were a lot of fun and we enjoyed exploring them.  There were lots of fun staircases and little nooks and crannies.  We had a snack at Bear Gulch Reservoir before heading back to camp.
 Stairs
TheBoy
LakeII
Papa
On Sunday, we decided before we went home we wanted to hike to the Balconies – another group of caves – because we had so much fun Saturday.  The hike was six miles round trip.  The caves were a bit more difficult than those at Bear Gulch, but the kids still did great.
PinnaclesII
TheGirl
The last mile of the hike, The Boy finally pooped out so The Mister went ahead of the rest of us and carried The Boy back to the car.  On our way out, The Missus met up with a rattlesnake.  She was coming around a narrow curve in the trail and when she stepped down she heard the hissing and rattle.  She looked down and saw the snake, coiled and ready to strike.  It was very close to her foot.  Of course, she freaked out.  Screaming she ran the other way and ended up falling down a few granite steps and knocked The Girl down in the process.  The Missus knee was tore up pretty good.  The snake was annoyed and would not move off the trail.  We tossed a couple rocks at it (I know – dumb) and the snake decided to move toward us rather than away.  It eventually moved off trail and boy was it mad.  We hightailed it out of there as fast as could. Not our finest moment.
ThatHurt
Funny thing is that with all the hiking we do, we never run into rattlesnakes UNLESS we are at Pinnacles.  Both visits have resulted in a rattlesnake sighting.  Not cool Pinnacles.  Not cool. This did make us realize however, that we really need to beef up our first aid kit and have a better understanding of what to do when we do encounter wildlife on the trail.  The rangers surprisingly had little in the way of first aid and the cut was really deep.  We ended up taking a trip to the ER once we got back home.  A deep cleaning and a round of antibiotics made a big difference.
So do you carry a first aid kit? What are you essential first aid items?  We would love to hear what you carry as we build the ultimate first aid kit.